
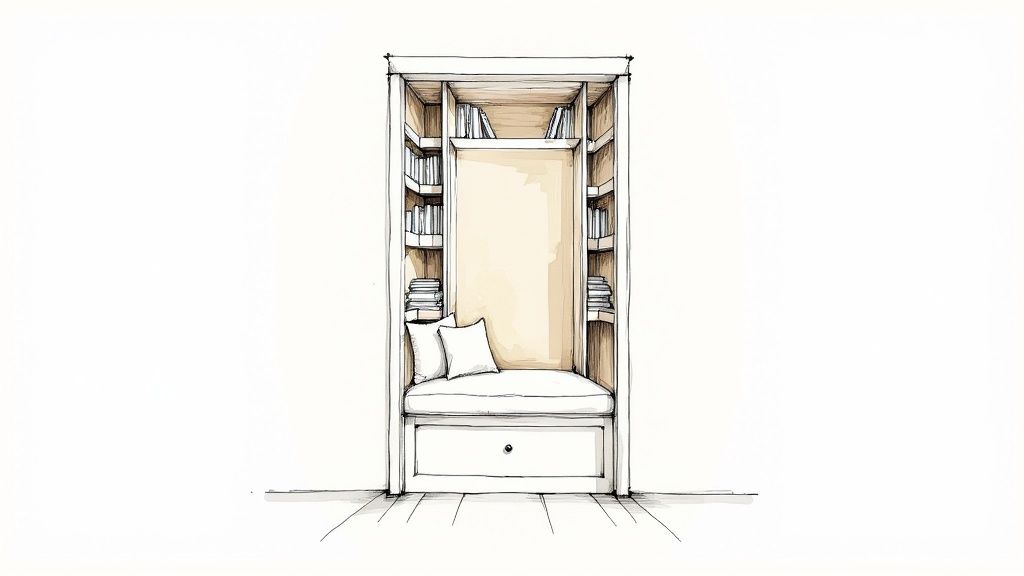
Got a closet that's become a black hole for random stuff? You know the one—the one you dread opening. That underused space is pure potential, waiting to be transformed from a cluttered mess into a stunning built-in bookcase that adds personality, charm, and practical storage. It's a fantastic project whether you're in a cozy apartment, looking to boost your home's resale value, or wanting to add a unique, high-end touch to an Airbnb listing.
Why Converting a Closet Into a Bookcase is a Smart Move
Turning a closet into a bookcase is more than just a clever DIY project; it's a strategic upgrade that adds a custom feel to any room without sacrificing valuable floor space. For anyone in a small home, apartment, or rental, maximizing every square foot is a huge win. This project creates a high-impact design feature using space you already have.
The demand for smart, integrated storage is real. In fact, according to market insights on businessresearchinsights.com, the custom closet market shows just how much people value well-designed, built-in features. This project taps directly into that desire for functional, beautiful spaces.
A Win for Every Type of Space
- For Homeowners: This conversion creates an instant focal point. Imagine a dedicated spot in your living room or bedroom to display your favorite books, art pieces, or family photos. It’s a move that makes any room feel more curated and thoughtfully designed, adding real value to your home.
- For Airbnb Hosts & Real Estate Agents: A custom built-in is a detail that sticks in people's minds. For a rental or listing, it signals a well-cared-for property and an intelligent use of space—two things that renters and buyers love. It’s a relatively small investment that can seriously boost listing appeal and perceived value.
See Your New Bookcase Before You Build It
One of the biggest hurdles in any home project is visualizing the end result. Should the shelves be painted to match the trim, or would a natural wood finish look better in your bedroom? What about a bold wallpaper on the back wall for a pop of drama? Guessing can lead to decision stress and costly mistakes.
This is where AI can save you time and money.
Why this matters: An AI Interior Designer like Interior Redesigne AI lets you snap a photo of your closet and experiment with different styles, colors, and layouts in seconds. It removes the guesswork, helping you sidestep design regrets and ensuring the finished bookcase is exactly what you hoped for.
Trying out different looks digitally gives you the confidence to move forward with a solid plan. If you need some inspiration, you can explore different aesthetics in our interior design styles guide to find the perfect vibe for your home.
Planning Your Closet-to-Bookcase Conversion
Every great DIY project starts with a solid game plan. Before you even think about pulling the closet doors off their hinges, taking time to map out your conversion will save you from frustration later. This is what separates wobbly, ill-fitting shelves from a stunning, seamless built-in that looks like it was always meant to be there.
Think about the closet's location and how you want the new bookcase to function. A living room or home office closet is a prime candidate for a beautiful display and storage unit. One in a guest room could become a cozy library nook. A clear vision ensures your hard work adds real value and style to your home.
Measure Twice, Cut Once
Precision is your best friend. Grab a tape measure and get accurate numbers for the closet's interior. Old walls are rarely perfectly square, so don't just measure once.
- Width: Measure the opening from side to side at the top, middle, and bottom. Always use the smallest measurement as your working width to guarantee your shelves will fit.
- Height: Measure from the floor to the top of the closet interior. If you plan on removing the header above the door frame, account for that extra vertical space.
- Depth: Measure from the back wall to the front edge of the closet opening. This tells you exactly how deep your shelves can be.
These measurements are the foundation of your project. They dictate your materials list and help you stay on budget by avoiding those annoying mid-project trips to the hardware store. For a deeper dive into project mapping, our guide on how to plan a home renovation provides a fantastic framework.
Safety and Structural Checks
Now for the part you absolutely cannot skip: figuring out what's hiding behind the drywall. A beautiful bookcase isn't worth a dangerous or wildly expensive mistake.
First, determine if any of the closet walls are load-bearing. These walls support your house's structure, and you can't alter them without a professional. While most interior closet walls aren't structural, if the closet is part of a central wall, you need to be certain.
Next, locate hidden utilities. A good stud finder with AC wire and pipe detection is essential. Scan the back and side walls for electrical wiring or plumbing. If there's an outlet already inside, you'll need to build around it, not cover it up.
Expert Tip: If you have any doubt about a load-bearing wall or find complex wiring, stop. A quick consultation with a contractor or electrician is a small price to pay for safety and peace of mind.
Visualize Your Design with AI
Feeling stuck between a few different design ideas? This is where technology can take the guesswork out of the equation. Instead of trying to imagine how different wood grains or paint colors will look, you can actually see it.
Using an AI Interior Designer, you can upload a photo of your existing closet and start experimenting. This helps you generate realistic previews of your finished bookcase before you buy a single piece of wood.
- Try Out Materials: Instantly visualize how warm birch plywood, sleek painted MDF, or rustic solid wood shelving will look in your actual space.
- Experiment with Color: See if a bold accent color on the back wall works, or how shelves painted to match the room's trim would blend in.
- Finalize Your Layout: Play with different shelf heights and configurations to ensure you have room for everything from tall vases to small decorative objects.
Seeing your ideas come to life this way gives you the confidence to lock in your design choices, reducing stress and ensuring the final result is exactly what you were hoping for. To get inspired, exploring a guide to built-in cabinet solutions can help you brainstorm different styles and layouts.
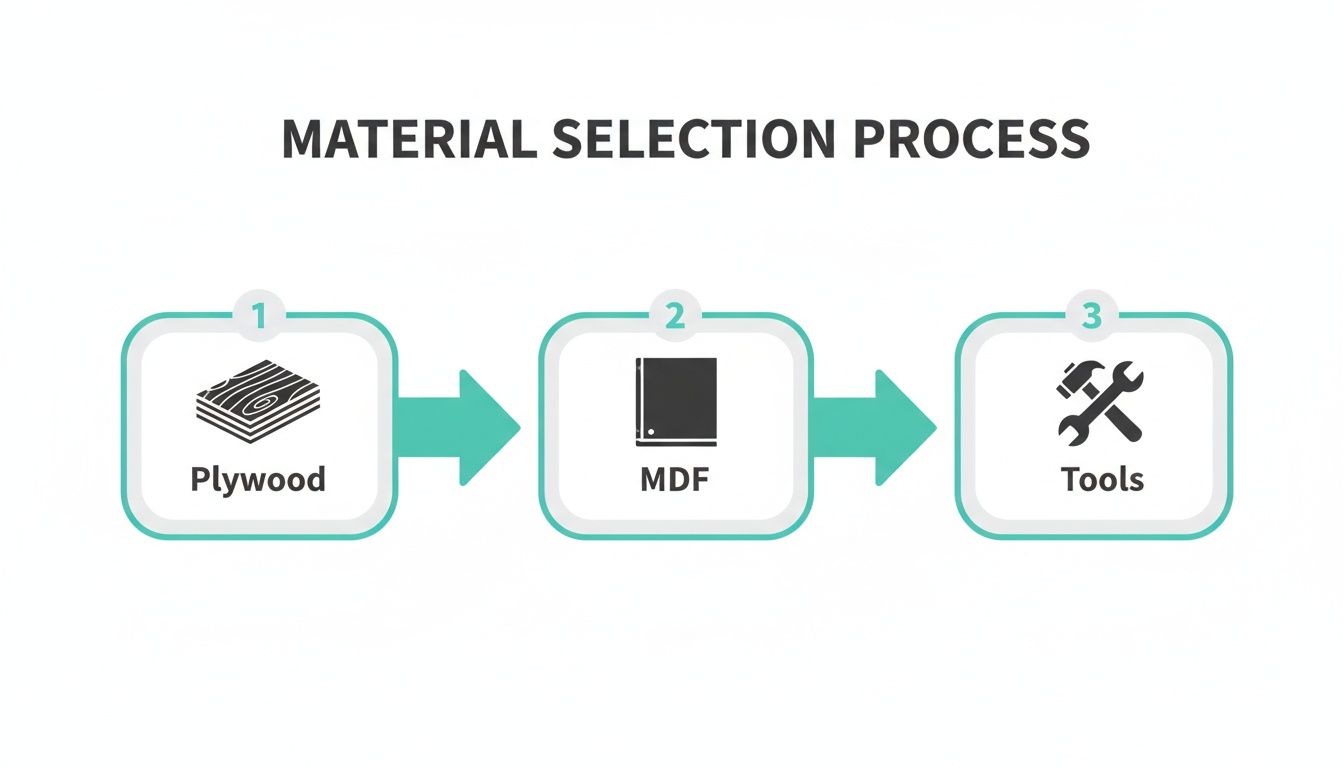
Choosing Materials and Gathering Your Tools
Okay, you've got your plan sketched out. Now for the fun part: picking the materials that will turn that drawing into a real-life bookcase. Your choice here sets the tone for the final piece, affecting everything from durability and style to your total budget.
This is where the project starts to feel real. Rich, solid wood can create a classic library feel, while a sleek, painted finish is perfect for a modern, clean look. It’s all about balancing the style you want with your budget and what you’re comfortable working with.
Finding the Right Materials for Your Project
The wood you pick is the single biggest decision for this project. For a DIY bookcase conversion, you generally have three main options, each with its own pros and cons for a real-world space.
- Plywood: A fantastic all-around choice, especially quality birch or oak plywood. It's strong, resists sagging, and takes stain beautifully if you want the natural wood grain to show. You'll need to cover the exposed layered edges with simple iron-on edge banding for a polished, professional look.
- MDF (Medium-Density Fiberboard): Planning to paint your bookcase? MDF is your go-to. It has a perfectly smooth surface that gives you a flawless painted finish with no wood grain. The trade-off? It's heavy and can droop over long spans. As a rule, add extra support for any shelf wider than 30 inches.
- Solid Wood: For that timeless, high-end feel, nothing beats solid wood boards like pine, poplar, or oak. It’s the priciest option but delivers unmatched strength and a custom look. If you're planning on loading your shelves with heavy art books, solid wood is the most durable choice.
Now, let's talk about how to choose the right material for your project.
Material Comparison for Your DIY Bookcase
Seeing the options side-by-side can make the decision easier. This table breaks down common choices to help you weigh the cost, durability, and ease of use for your specific needs.
| Material | Average Cost (per sq. ft.) | Pros | Cons | Best For |
|---|---|---|---|---|
| Plywood (Birch/Oak) | $2.50 - $4.00 | Strong, resists sagging, stainable wood grain, relatively lightweight. | Exposed edges need finishing, can splinter if not cut carefully. | Versatile projects where you want the option to either paint or stain. |
| MDF | $1.50 - $3.00 | Very smooth surface for painting, affordable, easy to cut. | Heavy, prone to sagging on long spans, doesn't handle moisture well. | Painted bookcases and projects on a tighter budget. |
| Solid Wood (Pine/Poplar) | $3.00 - $6.00 | Extremely strong and durable, beautiful natural grain, classic high-end look. | Most expensive option, can warp if not properly sealed. | High-end, stained bookcases designed to hold heavy items. |
Ultimately, the best material depends on the final look you're after and how you plan to use the shelves.
Visualizing Your Finishes with AI
Stuck between a crisp white paint and a warm walnut stain? This is where technology can save you from a costly mistake and a lot of stress.
Pro Tip: Before heading to the lumber yard, use an AI Interior Designer tool to see exactly how different materials and finishes will look in your room. Just snap a photo of your closet, and the tool can generate realistic versions of your finished bookcase in seconds.
This is a game-changer. It takes the guesswork out of the decision, letting you commit to a look with total confidence. You can even play with different paint colors for the back wall to see how that changes the vibe. For a deeper dive into how these tools can streamline your projects, check out our guide on home renovation design software.
Your Essential Toolkit
Having all your tools lined up before you start makes the build feel less chaotic and much safer. You don’t need a professional workshop, but a few must-haves will ensure clean cuts and a sturdy structure.
Here’s a quick checklist of what you’ll want on hand:
- Measuring & Marking: A quality tape measure, a combination square (for perfect 90-degree angles), and a pencil.
- Cutting: A circular saw is perfect for breaking down large sheets of plywood or MDF. A miter saw is invaluable for getting precise, angled cuts for trim.
- Assembly: A reliable drill/driver for screws, a level to ensure your shelves are perfectly horizontal, and a stud finder to anchor the unit securely.
- Finishing: A nail gun makes attaching trim a breeze, but a hammer and finish nails work too. You'll also want wood filler, caulk, and sandpaper for a smooth finish.
Running through a checklist like this guide on essential tools for homeowners before you start means fewer last-minute dashes to the hardware store.
Let's Get Building: The Step-by-Step DIY Guide
Alright, you’ve done the planning and gathered your materials. Now for the exciting part—actually bringing this project to life. This is where you get to see that empty closet start its transformation. We'll go through every stage, from prepping the old space to adding those finishing touches that make it look professional.
Take your time, measure carefully, and trust the process. Before you know it, you'll be stepping back to admire a beautiful, functional bookcase you built with your own two hands.
Step 1: Prep the Closet for a Clean Slate
Before you can build anything new, you have to get rid of the old. The goal here is to create a completely clean, empty box to work in. This prep work is crucial for a smooth installation.
- Remove Doors and Hardware: Take the closet doors off their hinges. Unscrew all hardware—hinges, latches, and tracks.
- Demo the Old Interior: Pull out any wire shelving, clothing rods, or support cleats. They'll likely leave holes, but that's what spackle is for.
- Patch and Sand: Use spackle or drywall compound to fill every hole and dent. Once it's fully cured, sand the spots until they're perfectly smooth.
- Prime and Paint Now: Give the closet interior a fresh coat of primer, followed by at least two coats of your final paint color. It’s much easier to get a perfect paint job now than trying to cut in around new shelves later.
This blank canvas is what makes the finished bookcase look truly intentional and high-end, not just like shelves stuck in a closet.
Step 2: Build a Rock-Solid Support Structure
The secret to shelves that will never sag is a bulletproof support system. We’ll use wooden cleats—simple strips of wood screwed directly into the wall studs—to carry the weight.
First, use your stud finder to locate and mark every vertical stud inside the closet. Then, using your plan for shelf spacing, draw light, level pencil lines where the bottom of each shelf will sit.
Next, cut 1x2 boards to serve as your cleats. Install them along your pencil lines, driving screws straight into the studs you marked. For maximum strength, you’ll want cleats on the back and both side walls for each shelf.
Why this matters: Never rely on drywall anchors for this. They are simply not strong enough to hold the weight of books over time. Screwing your cleats firmly into wall studs is the single most important step for creating a permanent, reliable built-in.
As you can see, the material you choose—whether it's heavy-duty plywood or easy-to-paint MDF—really dictates the tools and methods you'll use for the job.
Step 3: Cut and Fit the Shelves
With your supports firmly in place, it's time to cut the shelves. Measure the opening for each shelf individually, from one side cleat to the other. Old houses are rarely perfectly square, so don't be surprised if the measurements differ slightly.
Using a circular saw with a straight-edge guide for a clean cut, slice your plywood or MDF to size. Place each shelf on its corresponding cleats and check that it's level. Secure them by either driving finish nails down into the cleats or, for a cleaner look, running a bead of strong construction adhesive along the top of the cleats before setting the shelf in place.
Keeping all these small measurements and steps straight can be a hassle. Some of the best home renovation apps have project management features that can be a lifesaver for keeping your to-do list organized.
Step 4: Add the Finishing Touches
This last part is what separates a decent DIY project from a truly polished, custom-looking built-in. It’s all about hiding the raw edges and making everything look seamless.
- Add the Face Trim: Measure and cut 1x2 or 1x3 boards to create a frame around the front of the entire bookcase. This face trim is the magic touch—it hides the raw plywood edges and support cleats, giving the unit a clean, substantial look. Attach it with a nail gun or finish nails.
- Caulk Every Seam: This small step has a huge impact. Run a thin, smooth bead of paintable caulk along every seam: where shelves meet walls, where trim meets shelves, and in all the corners. It erases gaps for a truly integrated feel.
- One Final Coat of Paint: After the caulk dries, give the new trim a final coat of paint and touch up any scuffs or nail holes. This unifying coat is what makes your new bookcase look like it was always meant to be there.
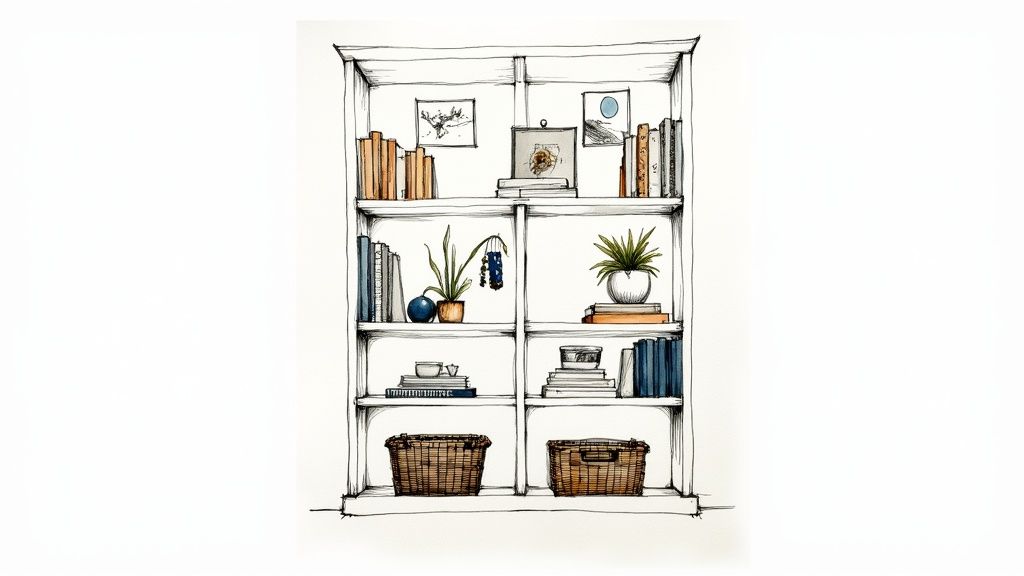
Styling Your New Bookcase for Function and Flair
The construction is done—you’ve successfully turned a forgotten closet into a stunning built-in bookcase! Now for the fun part: bringing it to life with your personal style. This is your chance to transform it from simple shelves into a true focal point that tells your story.
Styling is an art with simple principles. Think of it as curating a small gallery of your favorite things. For a real estate agent or Airbnb host, remember that a beautifully styled bookcase isn't just storage; it’s a powerful marketing tool. It instantly elevates listing photos, suggesting a thoughtful home that helps potential buyers or guests picture themselves living there.
Create Balance and Visual Interest
The secret to a high-end, styled look is knowing what not to put on the shelves. You don't need to fill every inch. What makes a display pop is what designers call negative space—the empty areas you intentionally leave. This breathing room allows your favorite items to stand out.
Here are a few practical tips:
- Vary Orientations: Don't just line up all your books vertically. Create a more dynamic look by stacking some horizontally. These stacks make great pedestals for a small plant or a unique object.
- Follow the Rule of Thirds: Our eyes are naturally drawn to items grouped in odd numbers. Try clustering objects in groups of three or five—for example, three small vases of different heights.
- Mix Textures and Shapes: Play with contrast. Pair the hard lines of books with the soft curves of a ceramic bowl, the organic shape of a leafy plant, or the glint of a metallic picture frame.
Why this matters for hosts: A well-styled bookcase is a conversation starter. For an Airbnb, place a few local guidebooks, a piece of art from a neighborhood artist, or a unique antique find. These thoughtful touches create a memorable experience that guests will rave about in reviews.
Getting a feel for how these elements will work together can be a challenge. Before arranging everything, try pulling together a digital vision board. For pointers, check out our guide on creating effective interior design mood board examples.
Smart Storage for Real Life
Let’s be honest: while your bookcase needs to look great, it also has to function in the real world. We all have things like charging cables, remote controls, or kids' toys that need a home. The lower, less-visible shelves are your secret weapon.
Woven baskets or stylish fabric bins are perfect for this. They introduce a warm texture while neatly hiding everyday clutter. This combination of open display and concealed storage is what makes a built-in so incredibly practical for families and busy households.
Test Your Styling Ideas with AI
Worried that a large vase might overwhelm the shelf? Wondering if those dark baskets will throw off the color balance? Guessing can lead to a lot of arranging and rearranging.
This is another place an AI Interior Designer tool can save you time and frustration. Upload a photo of your finished, empty bookcase. From there, you can digitally experiment by placing different objects, testing arrangements, and playing with color schemes before you lift a single item.
- See how different decorative items look together.
- Experiment with various basket styles and sizes.
- Test a bold accent piece without any commitment.
AI is great for generating ideas, but remember its limitations. Always combine AI suggestions with your personal taste. Think of it as a creative partner that helps you explore possibilities quickly, reducing decision stress and helping you create a space you truly love.
Got Questions? We’ve Got Answers
Even the best-laid plans can hit a speed bump. It's completely normal for questions to pop up when you're in the middle of a project like this. Let's tackle some of the most common ones.
Getting ahead of these details can save you headaches and extra trips to the hardware store.
What’s a Realistic Budget for This?
The final cost really hinges on your materials, the size of your closet, and how much you do yourself.
For a DIY route using budget-friendly materials like MDF and a simple paint finish, you can often pull this off for $100 to $200. If you opt for premium hardwoods like oak or birch plywood, or if you hire a carpenter, that number will climb. For a pro job or high-end materials, you could be looking at anywhere from $500 to over $2,500, especially with custom touches like integrated lighting.
Can I Do This in a Rental?
Yes, but you have to be smart about it. The golden rule of renting is "no permanent changes" without written permission from your landlord. Screwing supports directly into wall studs is a surefire way to lose your security deposit.
The trick is to create a non-permanent built-in. Here's a renter-friendly method:
- Carefully remove the closet doors and all hardware. Store them somewhere safe where they won’t get damaged.
- Build or buy a freestanding bookcase that’s sized to fit perfectly within the closet opening.
- Slide the unit into place. You can use small, hidden shims to make it snug and secure, giving you that seamless built-in look without a single nail hole.
When it’s time to move, just reverse the process. Slide the bookcase out, put the doors back on, and your landlord will be none the wiser.
How Do I Stop My Shelves from Sagging?
The dreaded shelf sag is a tell-tale sign of a DIY job, but it's easy to prevent. Books are deceptively heavy, and that weight adds up.
For standard materials like MDF or pine, any shelf longer than 30 to 36 inches needs extra help. Without it, gravity will eventually win.
Here are your best defenses against the bow:
- Add a center support: A simple vertical divider in the middle of your bookcase cuts the span of each shelf in half, instantly doubling its strength.
- Use reinforcing cleats: A 1x2 board screwed along the back edge of each shelf provides incredible support. For even more rigidity, add another to the front, which you can easily hide with face trim.
- Upgrade your material: Plywood is a step up from MDF in strength and sag resistance over long spans. It's a worthy investment for bigger closets.
There's an Outlet in My Closet—Now What?
Finding an outlet is common, and you just have to work around it safely. You can never cover up a live outlet with the back of your bookcase. That’s a major fire hazard and a building code violation.
The right way to handle it is to cut a clean opening in the back panel of your bookcase that lines up perfectly with the outlet. The outlet will then be recessed behind the wood. The fix is a simple part called an "outlet box extender" (or "goof ring") from any hardware store. It brings the outlet forward so it sits flush with the new surface.
A Quick Word on Safety: If you feel even slightly unsure about electrical work, please call a licensed electrician. It’s a small price to pay for the confidence that it’s been done safely and to code.
Ready to stop imagining and start seeing? With Interior Redesigne AI, you can upload a photo or sketch of your closet and get instant design ideas for your new bookcase. Experiment with different styles, colors, and layouts in just a few seconds. Give it a try and bring your vision to life.