
Ever stood in a room, paralyzed by choice? Wondering if that bold paint color will actually work, or if that sleek, modern sofa will clash with your vintage rug? That feeling of uncertainty is exactly what free AI room design tools are here to solve. They let you take a simple photo of your space and transform it into a design playground, showing you countless possibilities without any of the risk.
Visualize Your Dream Room Without Spending a Dime
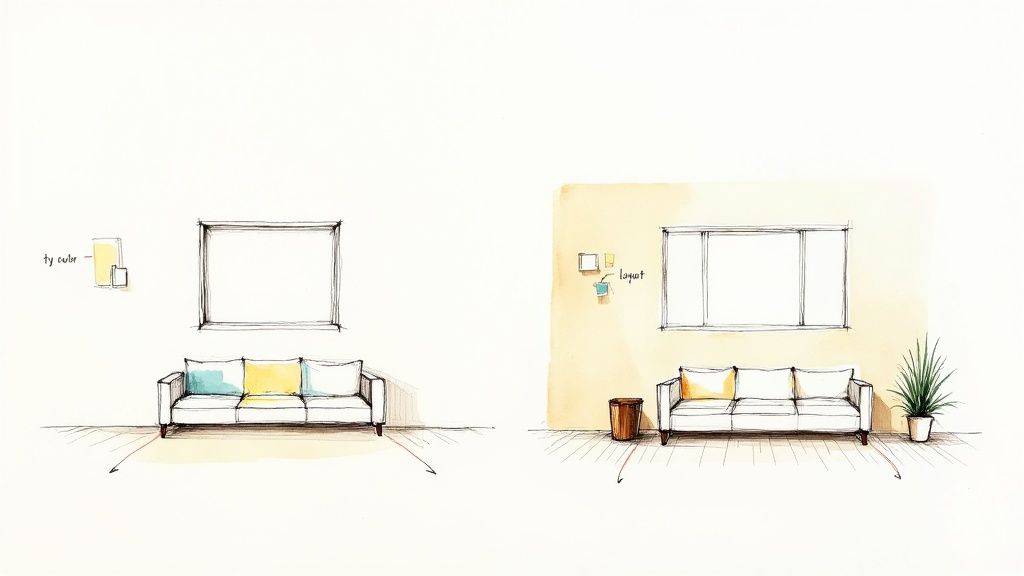
This isn't just a gimmick for tech enthusiasts or a secret weapon for professional designers anymore. AI-powered platforms have thrown the doors of interior design wide open, making it accessible to anyone with a smartphone and an idea.
Whether you're a homeowner stuck in a rut, an Airbnb host aiming to make your listing pop, or a real estate agent trying to help clients see past an empty room, these tools offer an instant, creative solution.
How AI Design Saves Time, Money, and Stress
The real magic of using free AI room design is its power to head off expensive mistakes. Instead of buying a huge sectional only to discover it swallows your living room whole, you can see how it looks first. You can cycle through dozens of paint colors in minutes without spending a fortune on sample pots. This rapid-fire visualization makes any redesign project faster, cheaper, and a whole lot less stressful.
For real estate agents or Airbnb hosts, the practical benefits are undeniable:
- Boost Listing Appeal: Digitally stage an empty, uninspiring room to help buyers or renters immediately picture their life there. This is a game-changer for attracting more clicks and bookings.
- Try Multiple Styles: Generate a handful of design options—maybe Modern for one buyer, Bohemian for another—to broaden a property's appeal without any physical effort.
- Plan Renovations: Create a realistic mockup of a planned kitchen overhaul to get everyone on board before the first sledgehammer swings. This helps align expectations and secure buy-in from clients or partners.
Think of it as your personal design assistant, encouraging you to experiment without fear. It’s like having an infinite number of do-overs, so you can land on a decision you're truly confident in before opening your wallet.
This isn’t just a niche trend. The interior design software market, now heavily driven by AI, was already valued at USD 5.37 billion and is expected to hit USD 9.66 billion by 2030. This boom is happening because more people are remodeling their homes and online furniture stores are integrating AI to completely change how we shop.
At the end of the day, these platforms give you the power to turn a vague idea into a tangible visual. By learning the ropes, you can go from a simple spark of inspiration to a clear, confident plan for a room you'll absolutely love.
How to Prep Your Room for Its AI Makeover
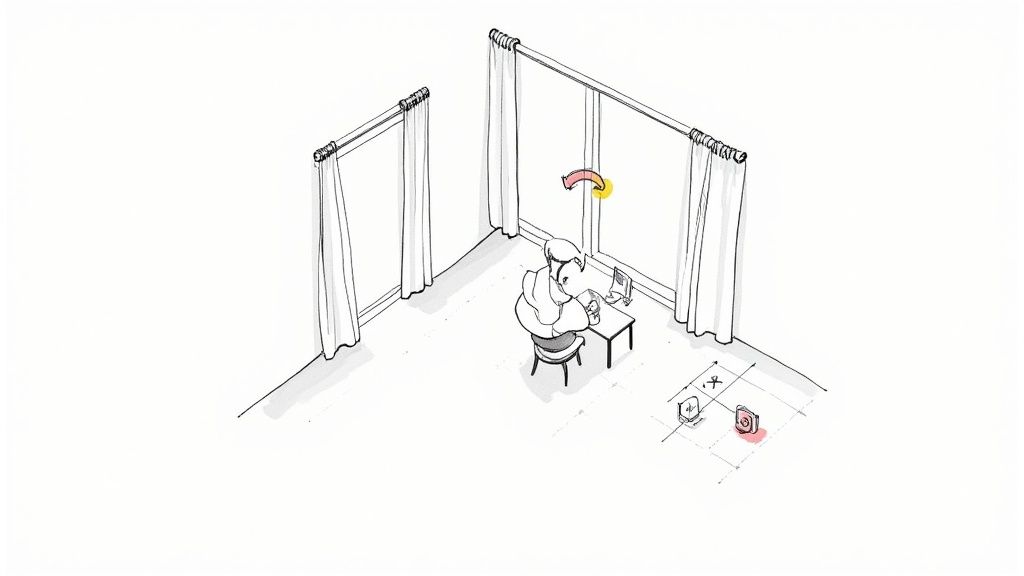
The secret to getting jaw-dropping AI designs isn't just the tool itself—it’s the photo you feed it. Think of your photo as the foundation for a new house. If the foundation is shaky, the whole structure will be off. A little prep work makes a world of difference, helping any free ai room design tool truly understand your space and deliver results that look polished and professional.
Spending just five minutes setting the stage can be the difference between a weird, jumbled render and a crystal-clear vision for your room. It’s a simple step that costs nothing but pays off big time.
Photo Prep Checklist for Flawless AI Designs
Before you snap a picture, run through this quick checklist. These simple steps will ensure the AI gives you the best possible results.
| Checklist Item | Why It Matters for AI | Pro Tip for Best Results |
|---|---|---|
| Declutter Surfaces | Clutter (toys, mail, remotes) confuses the AI, leading it to generate strange shapes or misinterpret the space. | Just clear the big surfaces. No need for a deep clean—just give the AI a clear view of tables, floors, and counters. |
| Maximize Lighting | Poor lighting hides a room's true dimensions and colors, forcing the AI to guess and often get it wrong. | Open all curtains for natural light and turn on every lamp. Avoid harsh, direct sun that creates deep shadows. |
| Find the Best Angle | A limited view gives the AI less information to work with, resulting in less creative or practical designs. | Stand in a corner and hold your camera at chest level. This usually captures the most comprehensive view of the space. |
Getting this right from the start means the AI can focus on what matters: the structure, the layout, and the potential of your room.
First, Clear the Decks
Before taking your shot, do a quick sweep of the room. The goal isn't to make it spotless, but to give the AI a clean slate.
- Tidy up personal items: Move magazines, remote controls, kids' toys, and any other daily clutter off of coffee tables, counters, and floors.
- Simplify the decor: You might want to temporarily move small, distracting decor pieces. This helps the AI focus on the room's bones—the walls, floor, and major furniture.
Why does this matter so much? Clutter can easily confuse the AI, causing it to misread shapes or drop bizarre objects into your design. For a small apartment or a rental property you're staging, a clean photo instantly makes the space feel larger and helps the AI focus on high-impact changes, not the pile of mail on the end table.
Let the Light In and Find Your Angle
Great lighting is non-negotiable. It reveals the true colors, textures, and dimensions of your room, all of which are critical details for the AI.
Throw open all your curtains to let in as much natural daylight as possible. Flip on every light in the room to brighten up any dark corners. Try to avoid taking photos at night or in harsh, direct sunlight, which creates dramatic shadows and can throw off the AI’s perception.
Once the room is bright, find your power position. Standing in a corner and holding your phone around chest height almost always captures the widest, most complete view of the room. This gives the AI the full context it needs to generate cohesive and practical ideas.
Pro Tip: If you're looking to completely rethink the room's layout, a simple line sketch can be even more powerful than a photo. Just draw the room's basic shape, mark the doors and windows, and upload that. This frees the AI from the constraints of your current furniture, letting it come up with some truly out-of-the-box layout concepts.
By following these simple prep steps, you're setting yourself up for success. You'll get cleaner, more accurate, and far more inspiring results from any free AI room design tool you choose.
Bringing Your Vision to Life with AI Tools
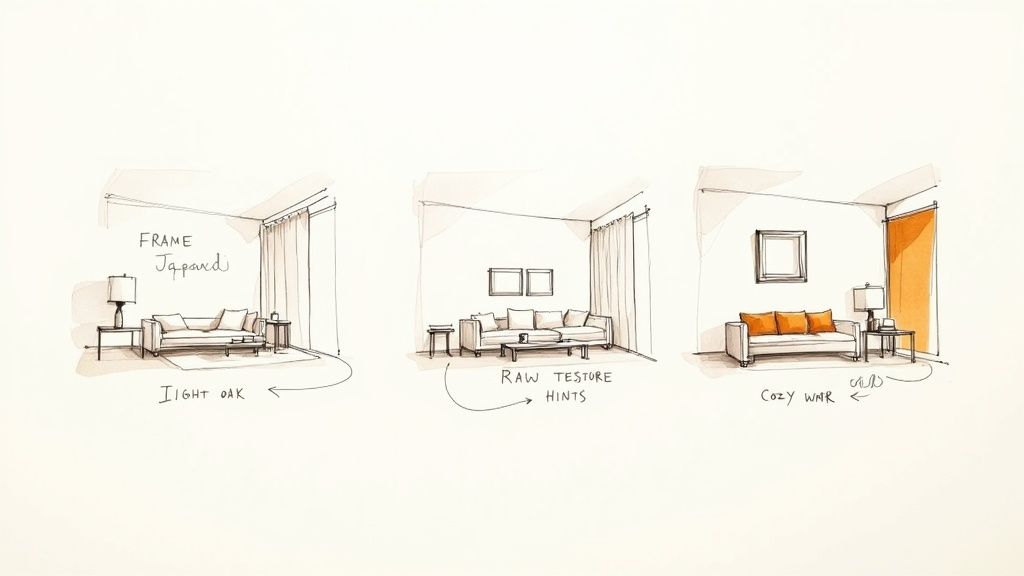
This is where the fun begins. With your photo or sketch prepped and uploaded, you’re ready to turn that blank canvas into a stunning preview of your dream space. Don't worry about needing technical skills; this part is all about creative exploration. You're about to cycle through professional-level designs in seconds.
The magic behind any good free ai room design tool is how it interprets your creative direction. You give it instructions by either picking a preset style or writing a short text description, often called a "prompt."
Step 1: Choose Your Style and Set the Mood
Most platforms, including Interior Redesigne AI, give you a menu of popular interior design styles. This is the fastest way to see dramatic transformations right away.
- Japandi: A calm, minimalist vibe that blends Japanese simplicity with Scandinavian coziness. It’s perfect for creating a serene bedroom or making a small apartment feel clutter-free.
- Industrial: An edgier, urban look with raw materials like exposed brick, metal, and distressed wood. It’s a fantastic way to add character to a loft or a modern kitchen.
- Bohemian: A relaxed, eclectic space brimming with plants, textiles, and a mix of patterns. It's especially great for making a rental feel personal without permanent changes.
You can also guide the AI to capture a specific feeling. Use descriptive words in your prompt to set the atmosphere. For example, instead of just "living room," try "cozy and warm living room with a fireplace." That simple addition tells the AI to lean into softer lighting, plush textures, and a warmer color palette.
Step 2: Specify Materials and Colors
To really hone your vision, start specifying the exact materials you want to see. This is incredibly helpful when you're trying to decide on big-ticket items, potentially saving you from serious buyer's remorse.
Imagine you're renovating a kitchen. You could generate one version with "white shaker cabinets and a marble countertop," then immediately create another with "dark green cabinets and a butcher block countertop." Seeing those two options side-by-side with Interior Redesign AI gives you a level of clarity that a traditional mood board just can’t replicate. This ability to visualize finishes is a core feature of many modern online interior design tools.
It's no surprise the AI interior design market is exploding. Currently valued at USD 1.47 billion, it's projected to soar to USD 6.96 billion by 2032. This growth is fueled by everyday homeowners and seasoned professionals who are using these tools to optimize everything from layouts to material choices.
Real-World Example: Let’s say you have a small, awkwardly shaped living room. By uploading a photo and prompting for a "bright and airy Scandinavian style with light oak flooring," the AI can generate a design that visually opens up the space. It might suggest a sofa with tall legs to create a sense of spaciousness or use mirrors to bounce light around—practical ideas you can actually use.
The more you experiment, the better your results will be. Some advanced tools can even generate 3D models from a prompt. The goal here is to play without limits. Mix and match styles, test out bold colors you'd normally be afraid to try, and swap materials until you land on a combination that just feels right.
The real beauty of this process is the speed and the total lack of commitment. You can explore dozens of high-quality concepts in the time it would take to paint a single sample swatch on your wall.
Fine-Tuning Your AI Designs Like a Pro
So you've generated a few AI designs that have potential. Great! Now the real work begins—the refinement phase. Getting from a decent concept to something that looks polished is all about the details. This is where your human touch comes in, guiding the AI’s incredible speed to match your unique vision.
Think of that first AI render as a fantastic rough draft. It’s the starting point, not the finished product. The magic happens when you start to iterate, tweak, and nudge that initial idea until it feels just right. This is how professional designers operate; they constantly refine until every element clicks into place.
Make Surgical Changes with Canvas Editing
Ever get a design that’s about 90% perfect, but one little thing is throwing the whole vibe off? Maybe the AI nailed the cozy armchair but generated a hideously patterned rug. Don't scrap the whole thing! This is exactly what canvas editing (or "in-painting") is for.
These tools let you use a brush to literally circle the part of the image you want to change, and only that part.
- For a Rental Refresh: An Airbnb host has a great AI-generated bedroom but wants to try a different headboard. They can just mask the current one and ask the AI to generate "a modern, channel-tufted velvet headboard" right in that spot. The rest of the room stays exactly the same.
- For a Kitchen Decision: A homeowner is agonizing over backsplash choices. They can highlight that specific area in their favorite kitchen layout and prompt variations like "classic white subway tile," "textured zellige tile backsplash," or even a "dramatic marble slab" to see which one works best.
This targeted approach is a massive time-saver. It allows you to confidently test specific design elements without having to regenerate the entire scene.
Generate Variations to Find the Perfect Fit
Here's a pro tip: never settle for the first image the AI spits out. One of the biggest perks of using a free ai room design platform is the power to generate multiple versions of the same idea in a flash. Just keep hitting that "generate" button.
You’ll start to see subtle yet crucial differences in each output:
- The lighting might hit differently, creating a warmer or cooler mood.
- A throw blanket might be draped in a more pleasing way.
- The scale of a side table or lamp could be slightly altered.
Comparing these small variations side-by-side helps you cherry-pick the best details from each one. You start building a composite of the perfect room in your mind. This iterative cycle is the secret to landing a design that feels truly complete. To go even deeper into creating photorealistic visuals, check out some of the best interior design rendering software on the market.
Master Resolution for High-Impact Visuals
If you're a real estate agent or a rental host, image quality is non-negotiable. A blurry, low-res image just screams unprofessional and can kill interest in a listing. Before you finalize anything, dig into your AI tool’s resolution settings. Generating your final images in high-resolution (like 4K) produces crisp, clean visuals that look stunning on websites, marketing flyers, and social media.
While AI is an incredible creative partner, always remember it has its limits. It has no clue about your home's actual measurements, where the outlets are, or what your budget is. To truly elevate your work, you can even explore AI style transfer techniques to apply a specific artistic look to your designs. The key is to always ground the AI's creative flair with your own practical, real-world planning.
Turning Your AI Design into a Reality
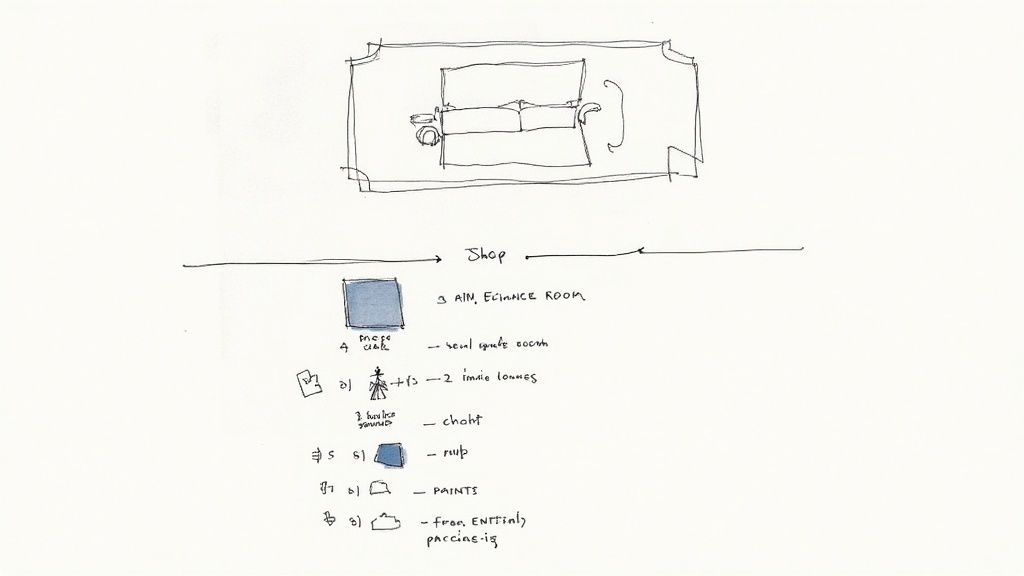
You've got a beautiful AI mockup. That's a fantastic starting point, but the real magic happens when you bring that vision off the screen and into your home. This is where your AI-generated image transforms from a pretty picture into a practical roadmap for your project.
Think of your favorite design as a visual shopping list. Instead of guessing what might work, you now have a clear guide to the furniture styles, color palettes, and decor pieces needed to recreate the look you love.
From Render to Shopping Cart: A 3-Step Plan
Breaking down the AI design into its core components turns a potentially overwhelming project into a series of manageable, bite-sized steps.
- Step 1: Identify Key Furniture. Look for the "hero" piece. Is it a plush sectional, a sleek dining table, or a rustic bed frame? Take note of its style, shape, and general scale.
- Step 2: Define the Color Palette. Pinpoint the main colors you see on the walls, in the furniture, and across the textiles. Most successful designs stick to a simple, complementary palette of three to five shades.
- Step 3: List Decor and Textures. The details make the room. Jot down the little things that caught your eye, like a jute rug, velvet cushions, brass light fixtures, or specific types of plants.
This process is fundamental to any successful project. For a more detailed guide to organizing your efforts, check out our article on how to plan a home renovation.
Pro Tip: Your AI design is your best defense against impulse buys and decision fatigue. Keep the image saved on your phone while you're shopping. It's the quickest way to check if a potential purchase truly fits your vision and budget.
This approach is part of a much bigger trend. The entire AI in design market is projected to grow from USD 20.085 billion in 2025 to USD 60.654 billion by 2030. This incredible growth shows just how integral AI is becoming for professionals and DIYers alike, making creative projects more accessible and efficient than ever before.
Just remember, your AI design is a guide, not a rigid blueprint. It’s an amazing source of inspiration, but be honest about its limitations. You'll still need to adapt the layout to your room's real-world constraints, like window placement and electrical outlets, to ensure the final result is as functional as it is beautiful. Don't be afraid to combine the AI's ideas with your own personal taste or consult a professional designer for complex projects.
Got Questions? We've Got Answers
Jumping into the world of AI-powered design is exciting, but it's natural to have a few questions. Here are some of the things people often ask.
Can I actually use this for real-world planning?
Think of AI design as your super-powered brainstorming partner. It’s fantastic for getting a feel for different styles, playing with color palettes, and visualizing layouts you might never have considered. It gives you a highly realistic preview to spark your creativity.
However, it's not a substitute for a tape measure. Before you commit to buying that gorgeous new sofa or custom cabinetry, you absolutely need to measure your physical space. The AI gives you the vision; your measurements make sure it all fits perfectly around things like power outlets, windows, and doorways.
Does this work for patios and backyards too?
Yes, absolutely! The same magic that transforms your living room works wonders on outdoor spaces. Just upload a photo of your balcony, patio, or backyard.
You can experiment with different furniture arrangements, see how a fire pit might look, or plan out your garden and lighting. It's an amazing way to map out a perfect outdoor dining area or a cozy lounge before you spend a dime.
What if the first design isn't right?
Don't worry—that's completely normal and part of the fun. The first idea is rarely the final one.
If the initial design misses the mark, simply generate more variations. The best tools let you do this in seconds. You can also get more specific with your text description, like trying "a cozy Scandinavian living room with a light gray sectional and birch wood accents" instead of just "living room." Keep iterating until you land on something that makes you say, "That's it!"
For more in-depth answers, check out our complete FAQ about AI interior design.
Ready to stop guessing and start seeing what's possible? Take a photo or sketch of your room and upload it to Interior Redesigne AI to instantly reimagine your space. Try it for free today!